
Graphic design involves many moving parts, so being organized and having a well-structured plan is a must. A graphic design workflow is the best way to structure your plan and achieve the best result.
Having a good graphic design workflow means you know your client and audience’s expectations from the get-go. It helps you visualize the end product and allows the client to make changes before much work has been done. Whether you freelance graphic design or work as part of a design team, use these tips for a more productive workflow and happier clients!
💼 Ready to kickstart your freelance design business? Get leads today.
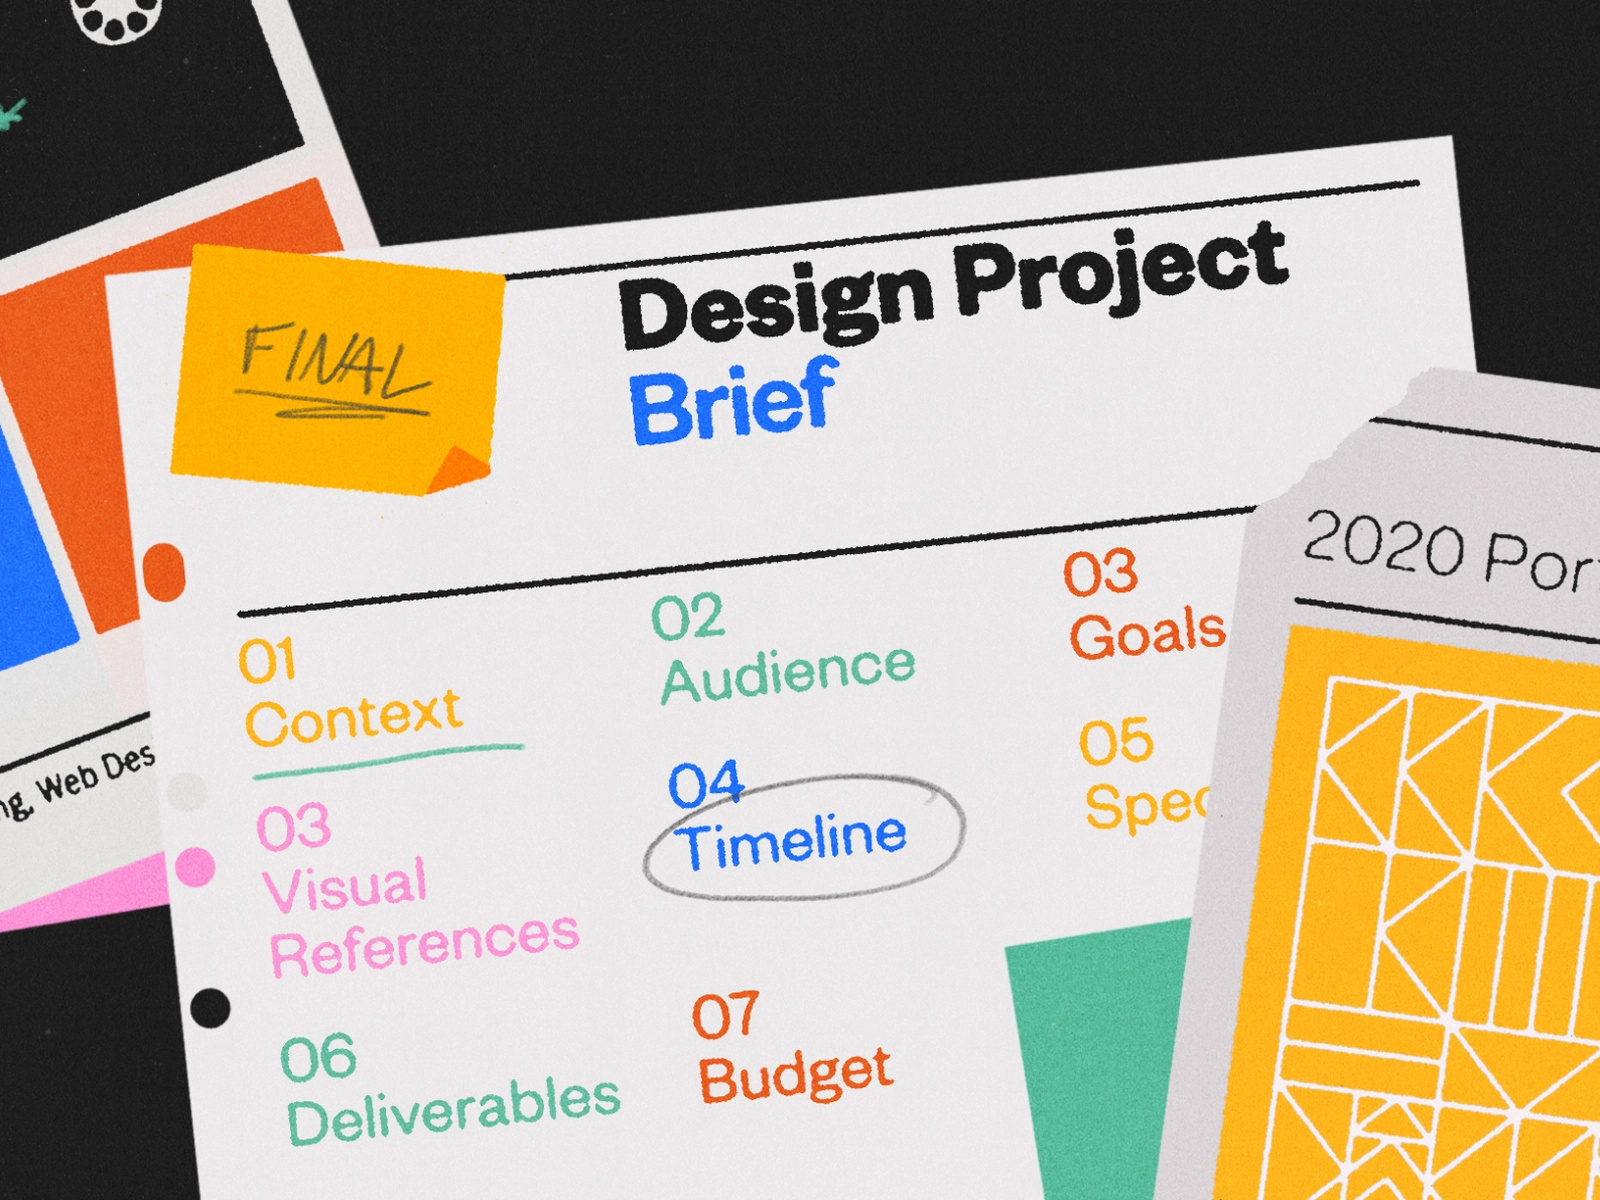
Step 1: Go over the brief
The brief of a graphic design project helps you understand the scope of the project and the desired outcome. It should include all the relevant information to prevent errors and confusion. Here is the information you need to have in a comprehensive brief:
- Client’s company details
- Client’s brand guidelines
- Target audience
- Audience expectations
- Type of product (e.g., logo).
- The timeline is broken down into milestones
- Budget
- Examples of similar work for reference
Step 2: Research the subject
Your brief should be informed by thorough research. Researching the subject means you will have lots of valuable information to assist you. It helps you understand your target audience and informs the overall design process.
Understanding your audience helps you create relevant and valuable designs. For instance, B2B marketing campaigns may require a different focus than one that caters to direct consumers.
An effective way to conduct research is by looking at the designs of your competitors. You should also see what your target audience engages with on social media. Once you’ve conducted your research, you can apply it to the project to get improved results.
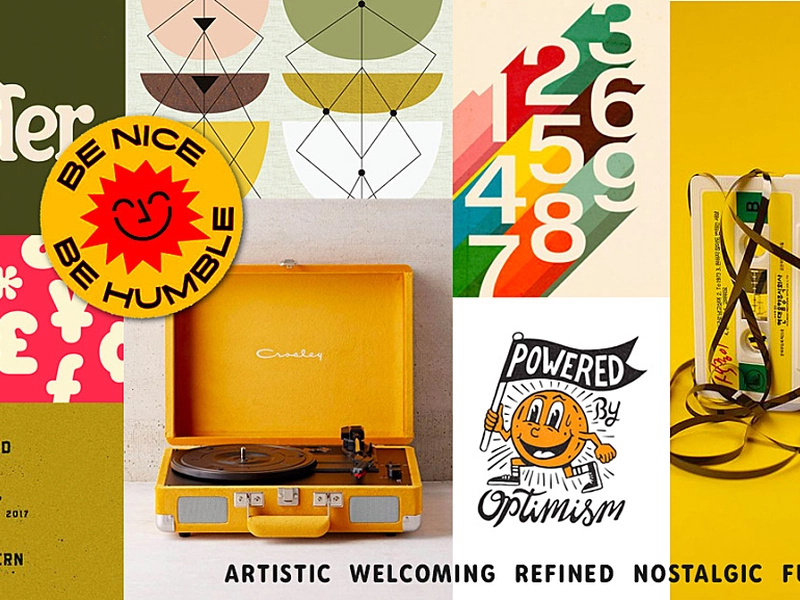
Step 3: Brainstorm and make a moodboard
With your outline and research complete, you should now know what the client and audience want. Next comes brainstorming ideas to make it happen. Moodboards are a good way to get the creative juices flowing.
A moldboard is a collection of visuals to help you understand the outline and turn the initial idea into the end product. Seeing a visualization of the outline makes it easier to see what the result should look like. Moodboards also help you stay on track by reminding you of the desired end product while you work on the project.
Another advantage of using moodboards is easier collaboration. If a team member needs direction, they can just consult the moodboard. Also, moodboards help the client visualize the end product. If they are unhappy with what they see, you can make changes before the project is complete.
It’s important to remember, however, that the brief should always inform the mood board.
Step 4: Make a rough sketch of your ideas.
The next stage in the graphic design workflow is a rough sketch of your ideas. Rough sketches can be done digitally or by hand. Some designers prefer sketching by hand because there are fewer distractions, but it’s up to you.
Here’s an example of Firefox’s rough sketch compared to the finished logo:
![]()
You should use your moodboard for inspiration and visual guidance. But don’t worry about the detail of the sketch; it’s just a rough sketch to move the project forward. The sketches are more about generating ideas than creating a masterpiece.
Step 5: Make changes to the designs in response to feedback.
Even if you’re a pro, making changes to the designs in response to feedback is part of the graphic design workflow. But first, assess if the criticism is high-quality and constructive.
You also need to assess if the changes are possible within the timeframe set out in the outline. Establishing these boundaries with clients is very important. If you don’t do this, both parties will be unsatisfied.
If the criticism is constructive and you can make the changes within the timeframe, don’t modify the designs based on your client’s feedback immediately. Some people tend to change their minds after they’ve thought things over again for some time. If your client is one of those people, you might end up making changes to the design over and over again if you implement the changes right away.
Instead, wait for a few days. Then ask your client for confirmation. If they ask you to proceed with the changes, it’s time to modify the designs.
Be wary of upcoming deadlines, though. You don’t want to turn in the project late. Leaving enough time to create the final product should be a priority.

Step 6: Finalize the product
Now that you’re fully prepared, you can move onto the final stage of the graphic design workflow: finalizing the product. Work from your sketches; this late stage of the graphic design workflow isn’t the time to experiment.
Make sure you’ve fulfilled the guidelines set out in the outline. Also, check if the project is in the client’s desired format.
You can now present your design. Hopefully, the client will be satisfied with it!
Streamline your graphic design workflow today
A good graphic design workflow helps you stay organized and visualize the result before you get started. It prevents confusion between the designer and the client. With a good graphic design flow, you can also collaborate effectively with team members, making the workflow more efficient. The result? You avoid costly errors down the line. Clients can also easily make changes with a good graphic design workflow, so they are more likely to be happy with the finished product.
The bottom line? Have a graphic design workflow to ensure great results. Your client is more likely to be happy with the product. You’ll have an easier time making it, too! ■
 About the Author: Allie Decker is the Head of Content at Omniscient, a marketing agency that works with SaaS brands. Before Omniscient, she spent 5 years as a freelance writer and then joined the content team at HubSpot where she worked for nearly 3 years. Her words are bookmarked by entrepreneurs, small business owners, and digital marketers worldwide. Contact her at [email protected].
Find more Process stories on our blog Courtside. Have a suggestion? Contact [email protected].


