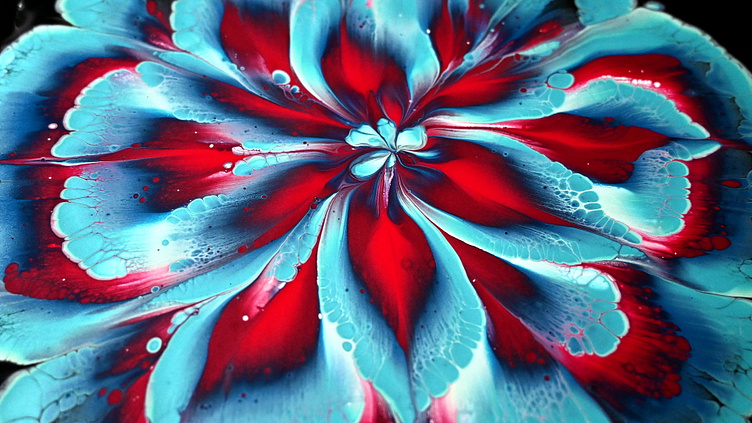
Step by step ~ Cup bottom reverse flower dip tutorial ~ Acrylic
Marina join me in my Art studio again and we decided to do step by step Cup bottom reverse flower dip tutorial. I'm so proud of her, because she did beautiful job with the colours she choose and her flower is just beautiful.
TECHNIQUE: Reverse flower dip with paper napkin, Cup bottom pour
PROCESS: - Pour your base on canvas - Put your FLOWER SHAPED CUP on the canvas with bottom up - Pour paints on the bottom and use PEARL WHITE or some metallic paints between each colour to create petal - lacing effect - Take off the cup - Use SKEWER to draw some petal shapes - Gently put PAPER NAPKIN or towel on canvas ( You can use dry or damped napkin) - Lift one corner at the time and then gently lift it (the middle last) - Torch it for air bubbles and to activate pearl white and metallic paints - And here is your flower :) https://youtu.be/h1bUjvngyqo COLOURS I USED: - Amsterdam Oxide black for a background - Pebeo iridescent blue green - Amsterdam greenish blue - Amsterdam sky blue light - Amsterdam carmine - Decoart extreme garnet - Pearl white
My pearl white mixture: 1 part Vallejo pearl medium 1 part titanium white 2 parts pouring medium All my paints are mixed with Boesner Guardi acrylic binder and Dufa acrylic emulsion. MATERIAL I USED: - 10x10 inch canvas - Acrylic paints mixed with pouring medium - Flower shaped desert cup - Paper napkin or towel - Wooden skewer - Palete knife - Torch Please understand that I am in no way responsible for the way you use your paint and mediums. Follow all safety instructions of the manufacturers, I can not be held liable. Be careful and use the proper materials for your safety. You can't use any content on my channel, unless I give you a permission! https://youtu.be/h1bUjvngyqo
